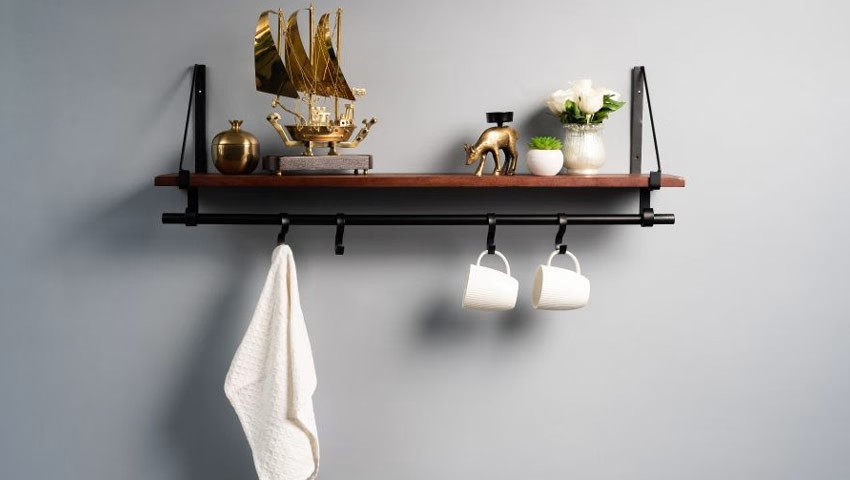
Floating shelves are a simple yet stylish way to add storage and personality to your home. Whether you want to showcase décor, store books, or organize everyday essentials, installing them yourself is easier than you think. With just a few tools and some careful planning, you can create a custom look that enhances any room. Here’s exactly how to do it, step by step.
Step 1: Gather Your Tools and Materials
Before you get started, make sure you have everything you need. Stopping mid-project to hunt for missing tools is frustrating, so set yourself up for success by being prepared. Investing in quality is always key, which is why Worx tools are highly recommended for any home improvement project. Here’s what you’ll need:
- Drill – Essential for making pilot holes and securing brackets.
- Stud Finder – Helps locate studs in the wall for stronger support.
- Level – Ensures your shelves are perfectly straight.
- Measuring Tape – Precision matters, so measure carefully.
- Pencil – Marking where to drill keeps things accurate.
- Wall Anchors – Useful if you’re not drilling into studs.
- Brackets or Mounting Hardware – Depending on your shelf type.
- Screws – To secure everything in place.
- Shelves – Choose sturdy ones that match your décor.
With all your tools and materials ready, you’re all set to begin.
Step 2: Choose the Right Location
Where you place your floating shelves matters, think about both function and aesthetics. If they’re for storage, ensure they’re within easy reach. If they’re for display, consider eye level for the best visual impact.
Use a stud finder to locate studs in the wall. Mounting your shelves into studs provides maximum support, especially if they’ll hold heavier items like books or kitchenware. If there are no studs where you want to install them, use wall anchors to keep them secure.
Step 3: Mark and Measure
Accuracy is key when installing shelves. Start by measuring where you want them to go, then use a pencil to mark your drill points. Use a level to check that your marks are straight—crooked shelves are the quickest way to make a project look unprofessional.
If you’re installing multiple shelves, measure the spacing between them to ensure they’re evenly placed. Consistency makes all the difference in the final look.
Step 4: Drill Pilot Holes
Once your marks are in place, it’s time to start drilling. If you’re mounting into studs, drill pilot holes slightly smaller than your screws. If you’re using wall anchors, drill holes large enough to fit them snugly.
Pilot holes prevent the wall from cracking and make it easier to screw in the hardware. Take your time—precision here will make the rest of the process much smoother.
Step 5: Install Brackets or Mounting Hardware
Now, secure the brackets or mounting hardware to the wall. If you’re using a traditional bracket system, screw them into place, ensuring they’re level before tightening fully. If you’re installing floating shelf mounts, follow the manufacturer’s instructions carefully to ensure proper support.
Give the brackets a light tug to check that they’re secure before moving on. If anything feels loose, adjust it now rather than later.
Step 6: Attach the Shelves
With the hardware in place, it’s time to install the shelves. If your shelves slide onto hidden brackets, simply position them and ensure they sit flush against the wall. For shelves that require screwing in, carefully attach them while double-checking alignment with your level.
Once everything is in place, step back and admire your work. A well-installed floating shelf should look seamless, as if it’s magically hovering on the wall.
Step 7: Style and Organize
Now comes the fun part—styling your new shelves! Whether you want a minimalist look or a cozy, layered display, here are some ideas to make them stand out:
- Mix heights and shapes – Combine books, framed art, plants, and decorative items for a curated look.
- Stick to a color theme – A cohesive color scheme helps tie everything together.
- Use baskets or bins – Great for hiding clutter while maintaining a tidy appearance.
- Keep balance in mind – Avoid overcrowding one side; aim for an even distribution of weight.
Enjoy Your New Floating Shelves
With your shelves installed and styled, you’ve officially transformed your space with a functional and stylish upgrade. Whether they’re in your living room, kitchen, or bedroom, floating shelves offer a simple way to enhance any home. Plus, the satisfaction of completing the project yourself makes them even more rewarding.
Now that you’ve mastered this DIY, what’s next? Maybe a gallery wall to complement your shelves, or a fresh coat of paint to refresh the space. Whatever it is, one thing’s for sure—your home improvement skills just got a serious upgrade!


